Solar panel systems are remarkably reliable — most operate for 25 to 35 years with minimal issues. But "minimal" is not "zero." Over the life of a solar system, you may encounter problems ranging from minor nuisances to issues requiring professional repair.
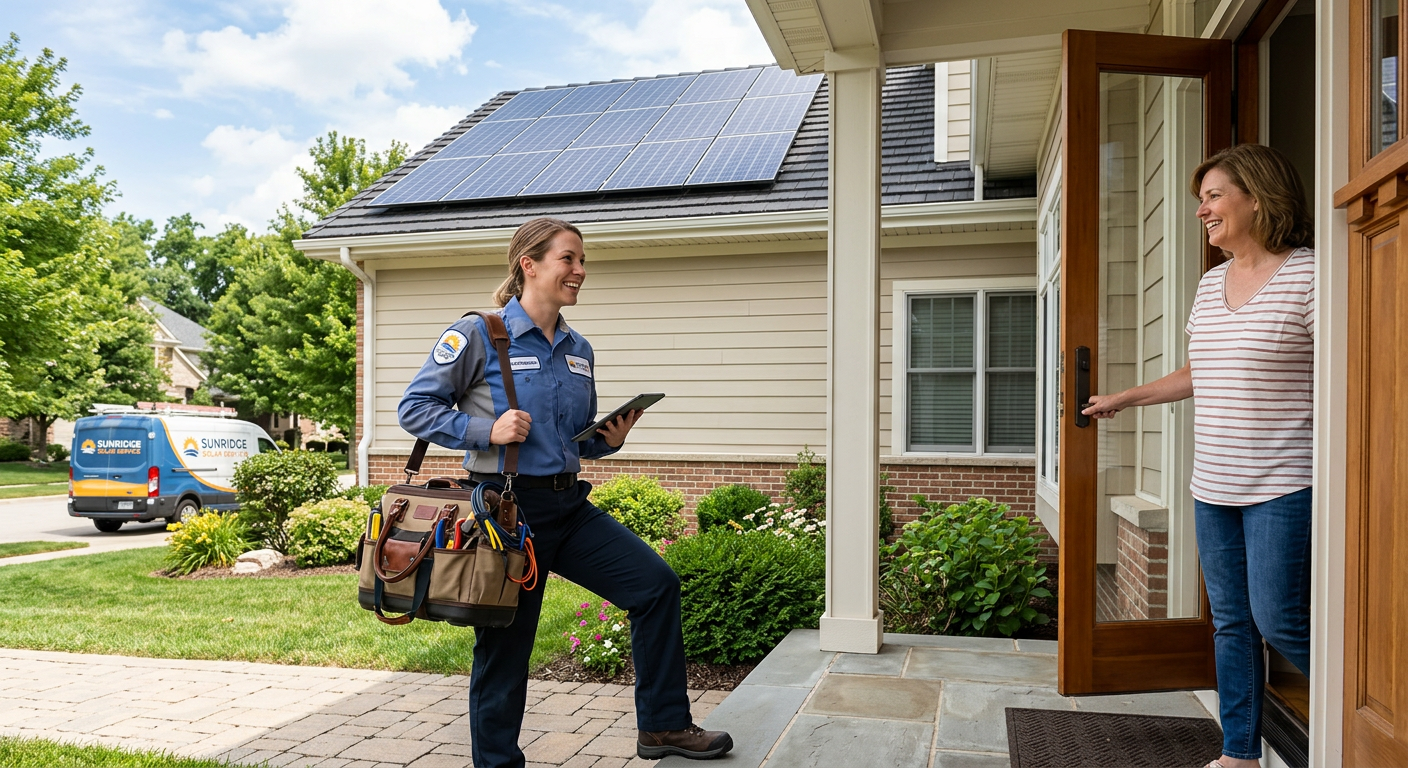
Knowing what can go wrong, how to identify it, and whether it is a DIY fix or a professional job empowers you to respond quickly and minimize lost production. At ProGreen Solar, we have serviced thousands of systems and seen every problem described in this guide. Here is what you need to know.
1. Microcracks in Solar Cells
What It Is
Microcracks are tiny fractures in the silicon solar cells inside your panels. They are invisible to the naked eye but can reduce cell output and worsen over time. Microcracks can exist from manufacturing (thermal stress during production) or develop from physical stress after installation (thermal cycling, wind flex, impact).
Symptoms
- Gradual production decline beyond normal degradation rates
- One panel consistently underperforming neighbors in your monitoring system
- No visible external damage
Severity
Microcracks range from harmless (small cracks that do not affect current flow) to significant (cracks that isolate portions of the cell from the circuit). A panel with extensive microcracks may lose 5 to 20 percent of its rated output.
What to Do
- Monitor the panel's production over several weeks. If the underperformance is consistent and greater than 10 to 15 percent below neighbors, the panel may need replacement.
- Check your warranty. Microcracks that cause production to fall below the panel's performance warranty threshold (typically 80 to 90 percent of rated output at year 25) are covered under manufacturer warranty.
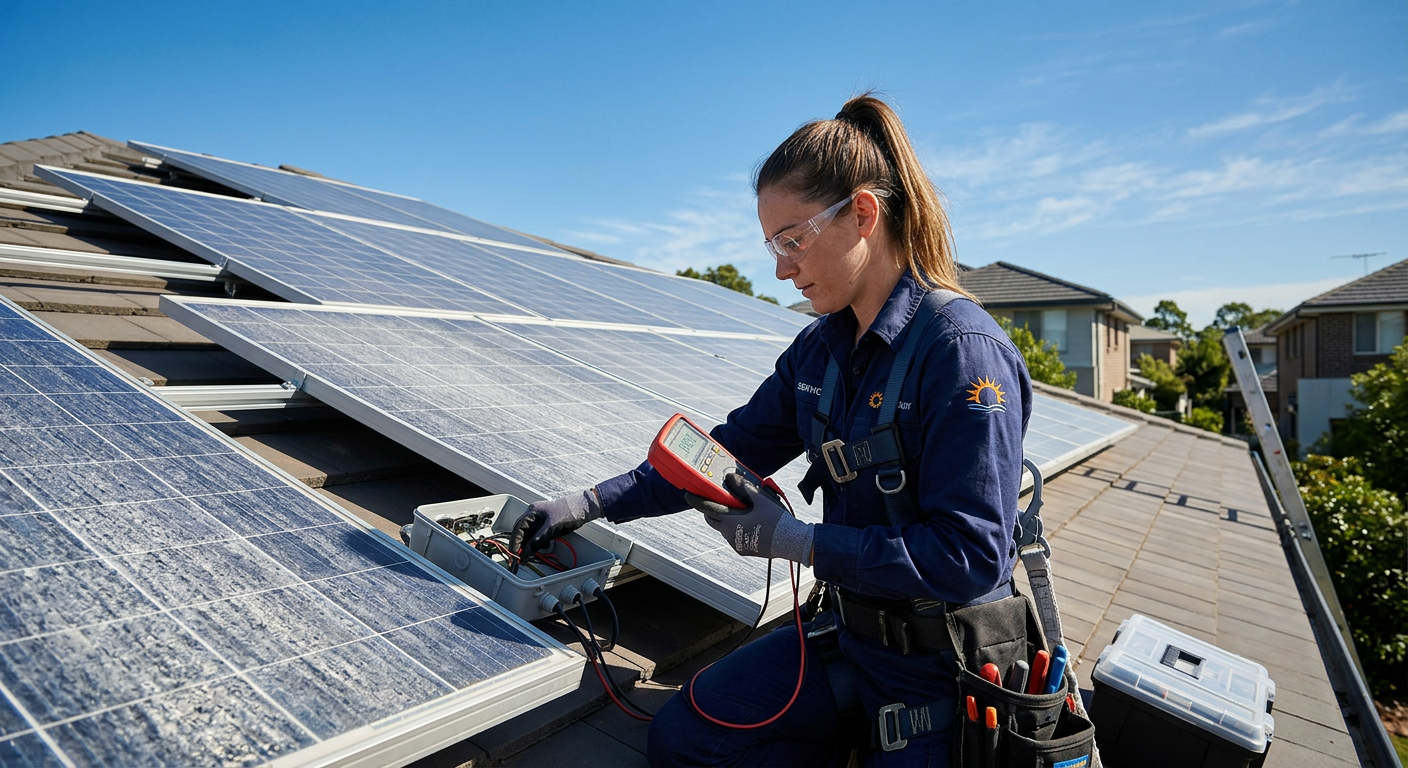
- Contact your installer for a professional assessment. We can perform infrared or electroluminescence imaging to quantify the extent of microcracking.
Prevention
Choose panels from reputable manufacturers with rigorous quality control. The panels we recommend undergo extensive testing for microcrack resistance. Proper installation technique — avoiding flexing, dropping, or stacking panels during handling — also minimizes microcrack risk.
2. Hot Spots
What It Is
A hot spot occurs when one cell or a portion of a cell operates at significantly higher temperature than the rest of the panel. Hot spots are caused by localized shading (bird droppings, leaves, debris), cell defects, cracked cells, or poor solder connections.
Symptoms
- Visible discoloration or browning on the panel surface (in severe cases)
- Single panel producing significantly less than expected
- In extreme cases, melting or burning of the backsheet material (rare but serious)
Severity
Mild hot spots reduce output slightly and may not worsen. Severe hot spots can permanently damage cells and, in rare cases, create fire risk. Modern panels include bypass diodes that limit hot spot severity by routing current around affected cells.
What to Do
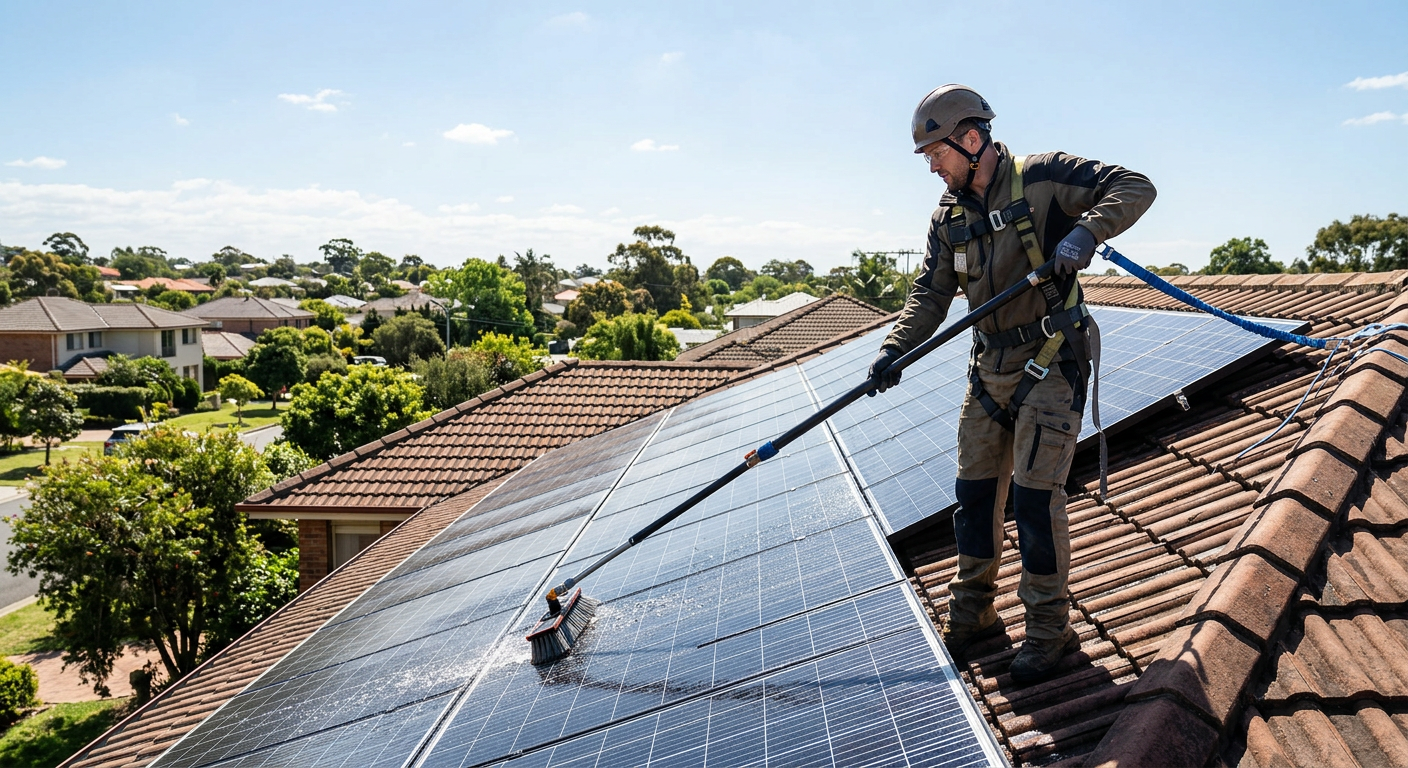
- Remove the obstruction if the hot spot is caused by debris. Clean the panel and monitor for improvement.
- Inspect visually from the ground using binoculars. Look for discoloration, browning, or bubbling in the panel surface.
- Check monitoring data. A panel with a hot spot shows reduced output, but the pattern differs from shading: hot spot reduction is constant regardless of time of day, while shading varies.
- Contact your installer if you suspect a manufacturing-related hot spot. These are typically covered under the product warranty.
Prevention
Regular cleaning removes the most common hot spot cause (bird droppings and debris). Panel-level monitoring (Enphase microinverters or SolarEdge optimizers) helps detect hot spots early through production data analysis.
3. Inverter Faults and Failures
What It Is
The inverter converts DC electricity from your panels to AC electricity for your home. Inverters are the most common point of failure in a solar system because they contain active electronic components that work hard every day.
Common Inverter Issues
Grid fault/islanding error: The inverter detects abnormal grid conditions (voltage or frequency out of range) and shuts down for safety. This is usually temporary and resolves when grid conditions normalize.
Ground fault: The inverter detects current leaking to ground (through insulation damage, moisture, or wiring issues). This is a safety concern and the inverter will not restart until the fault is resolved.
Arc fault: The inverter detects electrical arcing (sparking) in the DC wiring. Modern inverters and rapid shutdown systems are required to detect and stop arc faults to prevent fire risk.
Overtemperature: The inverter gets too hot and reduces output (derates) or shuts down to protect itself. This can occur on extremely hot days, in poorly ventilated locations, or if cooling fans fail.
Communication failure: The inverter loses internet connectivity, which affects monitoring but not energy production. Your system still produces power even when monitoring is offline.
What to Do
For temporary errors (grid fault, overtemperature): Check your monitoring for error codes. Many errors clear automatically within minutes to hours. If the error persists for more than 24 hours, contact your installer.
For ground faults and arc faults: These are safety-related and should not be ignored. Do not attempt to reset the system yourself. Contact your installer or call a solar professional.
For complete inverter failure: If your inverter stops working entirely (no production, no lights, no display), check:
- Is there a tripped breaker on your electrical panel? Reset it.
- Is the DC disconnect switch on? Check the switch on or near the inverter.
- Is there a utility outage? Your system will not produce during grid outages unless you have backup capability.
- If none of the above, contact your installer for service.
Typical Inverter Lifespans
| Inverter Type | Typical Lifespan | Warranty |
|---|---|---|
| Enphase microinverters | 20-25+ years | 25 years |
| SolarEdge string inverter | 12-15 years | 12-25 years |
| SolarEdge optimizers | 20-25 years | 25 years |
| Tesla inverter (Powerwall 3) | 12-15 years | 12.5 years |
Microinverters and power optimizers are designed to last the life of the panels. String inverters typically need replacement once during the system's 30-year life — budget $1,500 to $3,000 for this eventual replacement.
4. Shading Issues
What It Is
Shading from trees, buildings, chimneys, or other obstructions reduces production on affected panels. Even partial shading on one panel can significantly impact system output, depending on your system architecture.
Symptoms
- Production decline during specific times of day or seasons
- Panel-level monitoring shows one or more panels consistently underperforming
- The affected panels change depending on time of day (shadow moves)
Impact by System Type
Microinverter systems (Enphase): Each panel operates independently. A shaded panel reduces only its own output — unshaded panels are unaffected. Impact is linear: shade one panel, lose one panel's production.
Optimizer systems (SolarEdge): Each panel is optimized independently, similar to microinverters. Shading impact is isolated to the affected panels.
Traditional string inverter systems: All panels in a string are connected in series. A shaded panel can drag down the entire string's output. One heavily shaded panel can reduce a 10-panel string's production by 30 to 50 percent.
What to Do
- Identify the shading source by checking your monitoring data for time-specific production dips and visually observing shadows on your array.
- Trim trees if vegetation is the cause. Colorado law generally protects your solar access rights, though specific rules vary by municipality.
- Accept minor shading that occurs only during early morning or late afternoon when production is naturally low. This shading has minimal financial impact.
- Consider tree removal for trees that shade panels during peak production hours (10 AM to 3 PM). A single mature tree shading several panels can cost you $200 to $500 per year in lost production.
Prevention
A well-designed system avoids predictable shading. At ProGreen Solar, we use shade analysis tools (including drone surveys and satellite imagery) during design to identify and avoid shading issues. We also project tree growth 10 to 20 years into the future.
5. Degradation
What It Is
All solar panels gradually lose output over time. This is normal and expected — not a "problem" per se, but understanding it helps you set realistic expectations.
Normal Degradation Rates
- Year 1: 1 to 3 percent initial degradation (light-induced degradation, or LID)
- Years 2-25: 0.25 to 0.50 percent per year for modern panels
- After 25 years: Panels typically produce 80 to 92 percent of original rated output
When Degradation Becomes a Problem
If your panels are degrading faster than their warranted rate, you may have a warranty claim. Signs of abnormal degradation:
- Production decline exceeding 1 percent per year after the first year
- Visible discoloration (yellowing of the EVA encapsulant)
- Production falling below the panel's warranted performance curve
What to Do
- Document production data from your monitoring system over multiple years
- Compare to warranty terms. Most panels warrant 80 to 90 percent of rated output at year 25.
- Contact your installer if degradation exceeds warranty parameters. Manufacturer warranty claims typically require production data as evidence.
For more detail on panel longevity, see our solar panel lifespan guide.
6. Critter and Bird Damage
What It Is
Birds nest under solar panels (the gap between panel and roof provides shelter). Squirrels chew on exposed wiring. Pigeons deposit droppings that cause hot spots and soiling. Raccoons and other animals can displace wiring or damage mounting hardware.
Symptoms
- Nesting material visible under or around panels
- Chewed or damaged wiring visible from the ground
- Concentrated bird droppings on panels
- Scratching or scurrying sounds under panels
- Monitoring shows intermittent production issues
What to Do
- Install critter guards. Wire mesh screens around the perimeter of your panel array prevent animals from accessing the space underneath. This is the most effective and permanent solution.
- Remove existing nests carefully. If birds are actively nesting, check local regulations — some species are protected during nesting season.
- Repair damaged wiring immediately. Exposed wire due to animal chewing creates electrical hazards including arc faults and ground faults.
- Clean affected panels to remove droppings and debris.
Cost
Critter guard installation typically costs $500 to $1,500 for a residential system, depending on array size and accessibility. This is a worthwhile investment if you are in an area with active bird or squirrel populations.
Prevention
We strongly recommend critter guards on all new installations in Colorado, particularly for homes near trees, in rural/suburban areas, or with known pigeon populations. It is much easier and less expensive to install critter guards during the initial solar installation than to retrofit them later.
7. Wiring and Connection Problems
What It Is
Over time, electrical connections can loosen, corrode, or degrade. Exposed wiring can be damaged by UV radiation, weather, or animals. Poor initial installation can create connection problems that manifest years later.
Symptoms
- Intermittent production drops or shutdowns
- Arc fault errors on your inverter
- Ground fault errors
- Visible corrosion or damage to conduit, junction boxes, or connectors
What to Do
Wiring problems require professional attention. Do not attempt to repair or modify solar electrical connections yourself — the system operates at potentially dangerous DC voltages.
Contact your installer for diagnosis and repair. Connection issues are often covered under the installer's workmanship warranty (ProGreen Solar provides a comprehensive workmanship warranty on all installations).
8. Roof Leaks
What It Is
Although uncommon with professional installation, roof penetrations for solar mounting attachments can potentially leak if not properly sealed, or if flashing degrades over time.
Symptoms
- Water stains on ceilings below the solar array
- Dripping during rain directly under a mounting point
- Visible damage to roof flashing around attachments
What to Do
- Report the leak immediately to your solar installer. Roof leak repairs are typically covered under the installer's workmanship warranty.
- Do not attempt to remove panels to access the leak yourself.
- Document the leak with photos and note the location relative to your panel layout.
Prevention
Proper installation is the best prevention. At ProGreen Solar, every roof attachment uses flashed lag bolts with sealant, installed by trained roofing professionals. We inspect every penetration point during our quality check before system activation.
When to Handle It Yourself vs. Call a Professional
| Problem | DIY Appropriate? | Professional Needed? |
|---|---|---|
| Light soiling/cleaning | Yes | Optional |
| Breaker tripped | Yes (reset it) | If it trips repeatedly |
| Monitoring offline | Yes (check WiFi) | If connectivity issue persists |
| Tree shading | Yes (trim if safe) | For large tree work |
| Critter evidence | Yes (visual check) | For guard installation |
| Inverter error codes | Check codes only | For persistent errors |
| Physical panel damage | No | Yes — always |
| Wiring/connection issues | No | Yes — always |
| Roof leaks | No | Yes — always |
| Ground/arc faults | No | Yes — always |
For a detailed guide on when professional service is needed, see our article on when to call a solar professional.
Protect Your Investment
Most solar panel problems are minor, infrequent, and easily resolved. A combination of regular monitoring, basic maintenance, and knowing when to call for help keeps your system producing at its best for decades.
If you are experiencing an issue with your solar system — or if you are not yet a solar owner and want to understand what maintenance involves — call ProGreen Solar at (303) 484-1410. We are here for the full life of your system, and our solar calculator can help you explore what a well-maintained solar investment looks like financially.